Last updated November 22, 2026
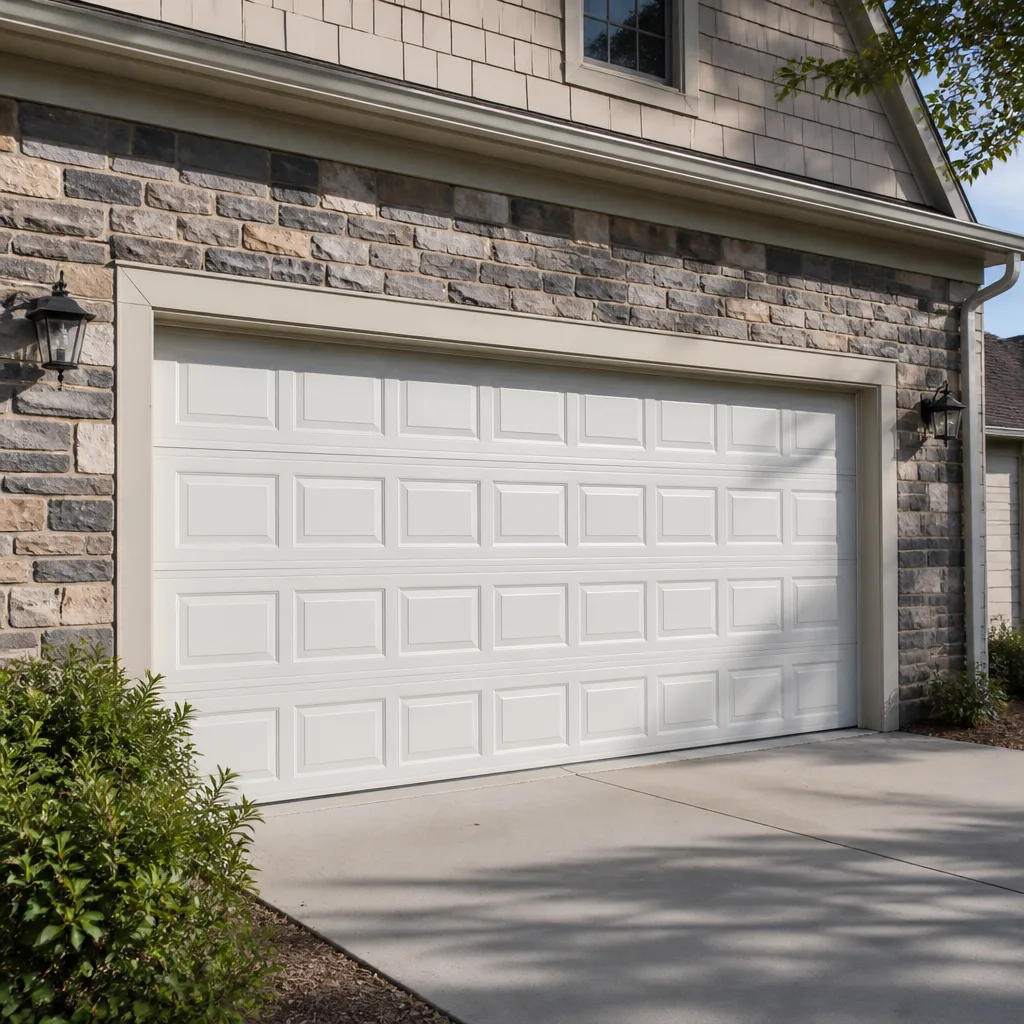 Raised-panel steel
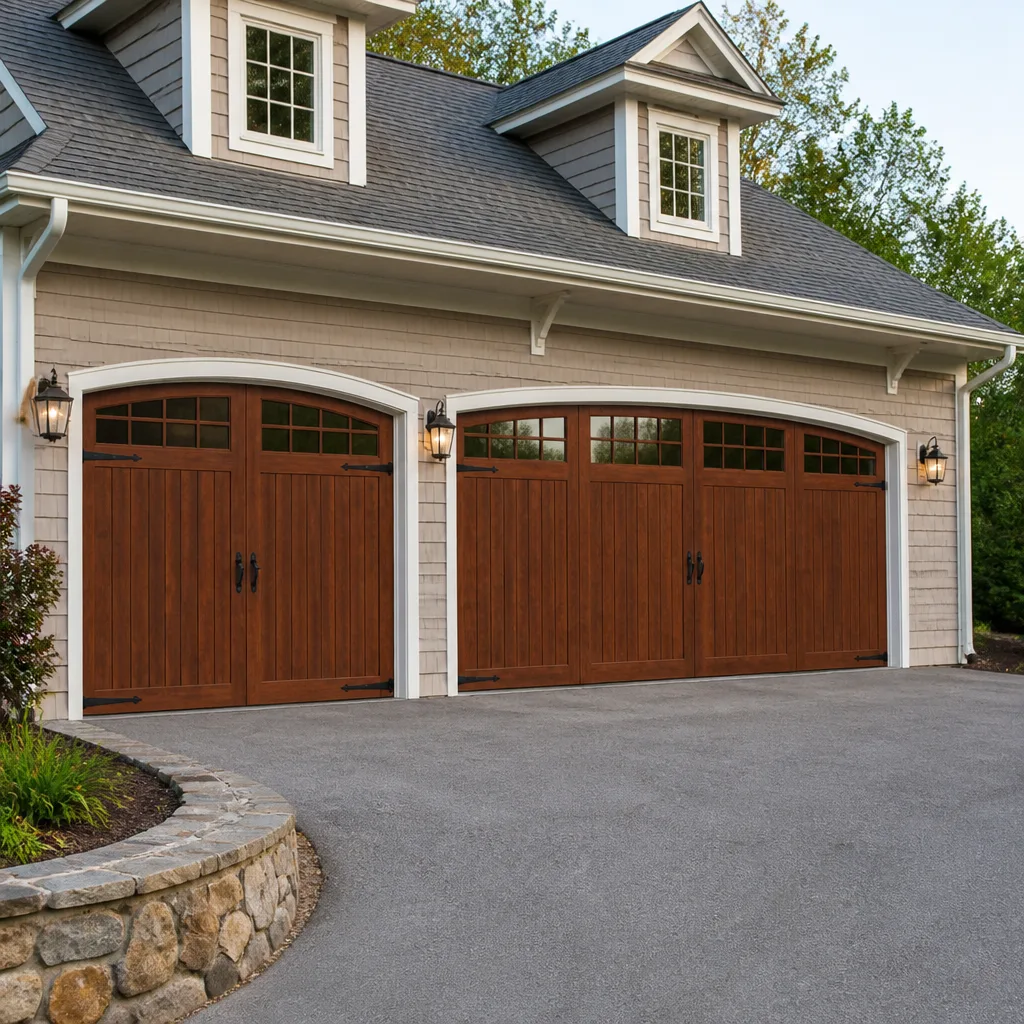 Carriage house
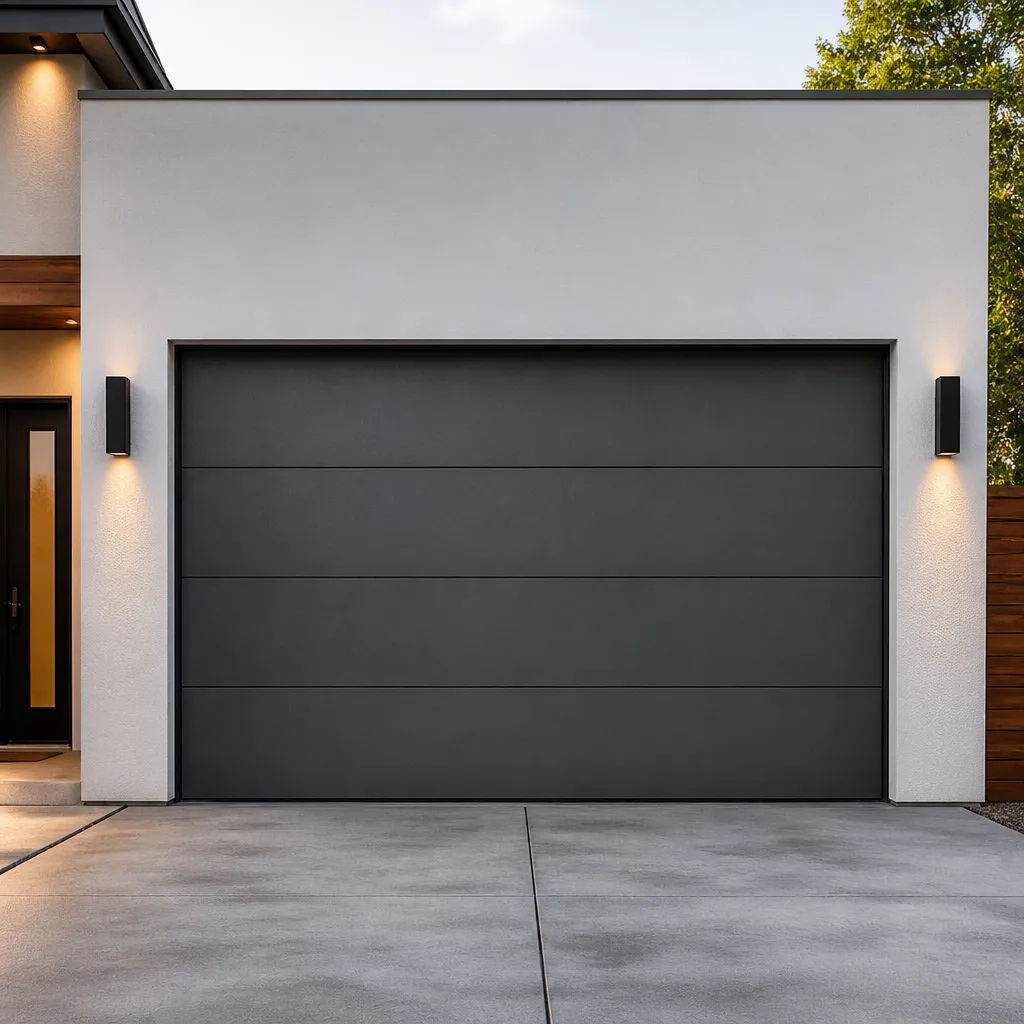 Modern flush
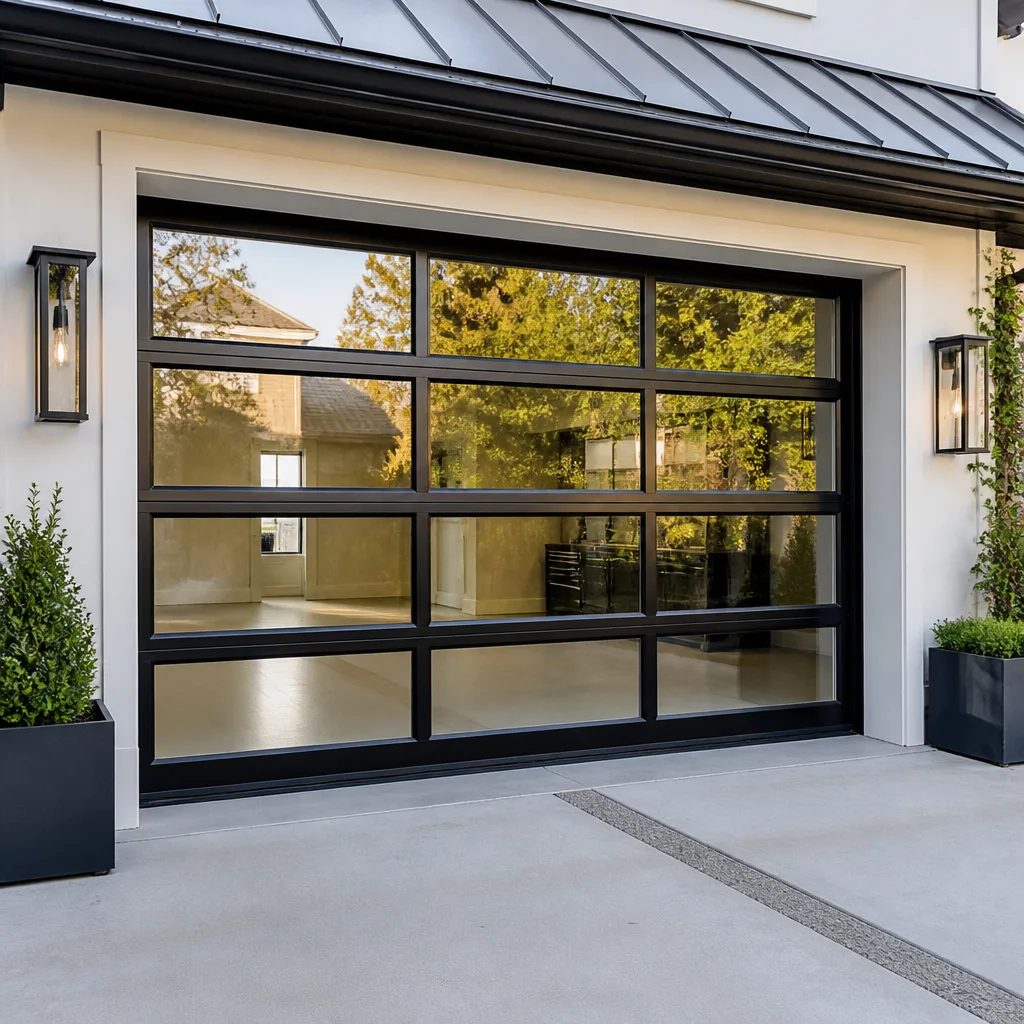 Full-view glass
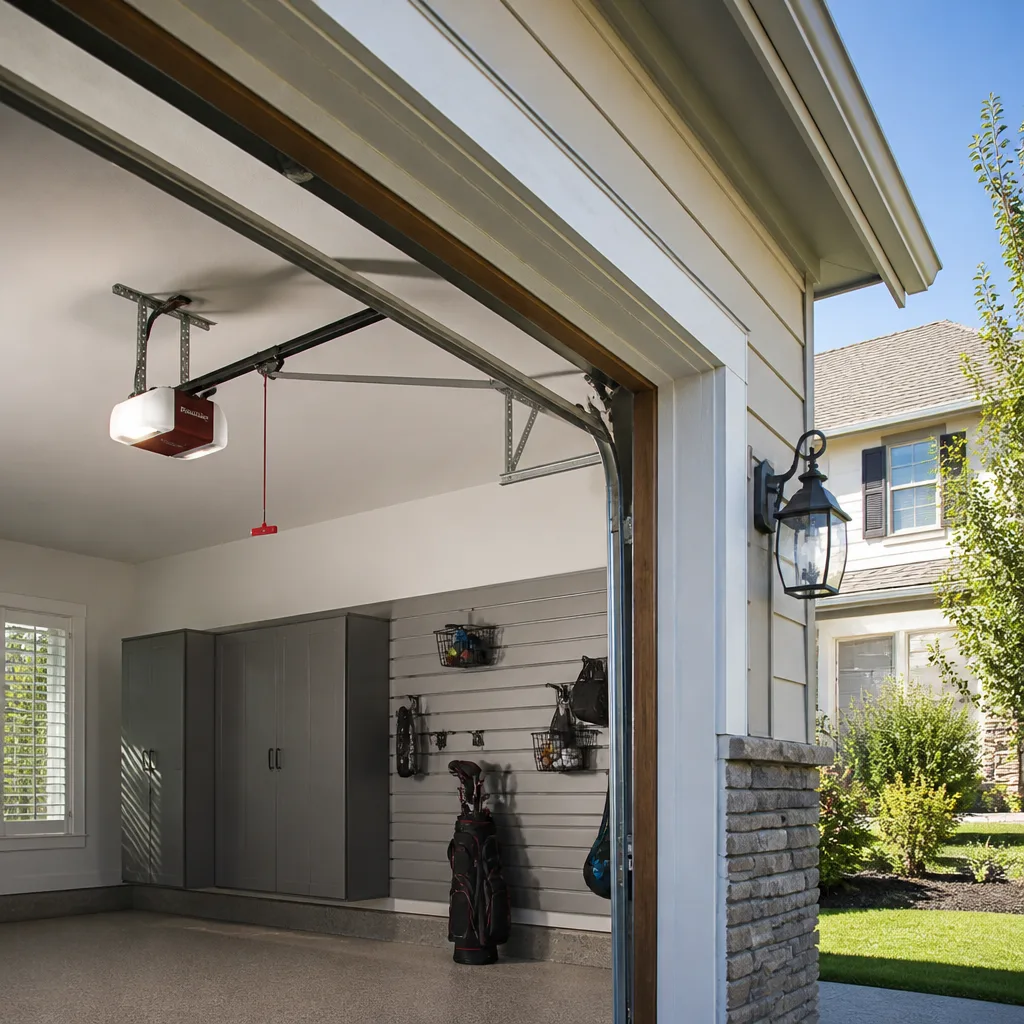 LiftMaster openers
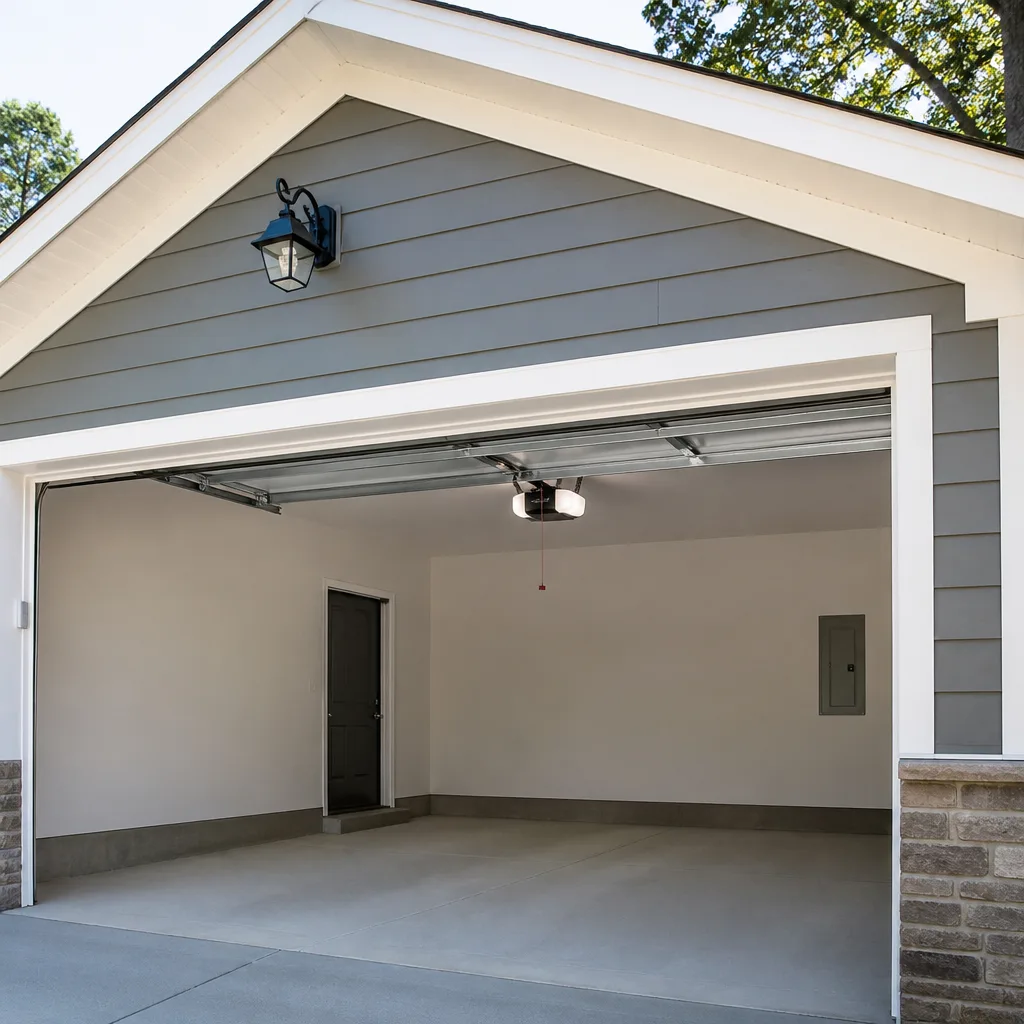 Chamberlain openers
Full 25-point door and opener safety check with every visit - springs, cables, rollers, tracks, and your LiftMaster or Chamberlain opener included
You get a price before we start. It does not change when the pro arrives.
Get your free estimateGarage Door Repair Troubleshooting in Lawrence: Common Problems and How to Fix Them
A garage door that reverses before it reaches the floor isn’t broken. Its close-limit setting is off by a few millimeters, and no part needs replacing. That single distinction is where most Lawrence homeowners lose money and time: they replace a symptom instead of diagnosing the source. The noise, the slowness, the reversal, the blinking light on the opener, none of those is the actual failure. Each one points to a component, and the component is what needs the fix. This guide walks you through a component-first troubleshooting framework, so you can tell a tracking problem from a spring problem from an opener problem before you call anyone, and know exactly which issues are safe to handle yourself and which aren’t.
Quick Answer
Troubleshoot a garage door by isolating the system first: disconnect the opener with the manual release and lift the door by hand. If it moves smoothly, the fault is in the opener (limits, logic board, sensors). If it’s heavy or binds, the fault is mechanical (springs, cables, rollers, track). Safe DIY fixes include limit adjustments, lubrication, sensor realignment, and track straightening; spring and cable work requires a trained technician because the stored tension can cause serious injury.
Styles & brands we work with
- Raised-panel steel
- Carriage house
- Modern flush
- Full-view glass
- LiftMaster openers
- Chamberlain openers
Table of Contents
- The Component-First Diagnosis Framework
- The Manual Disconnect Test: The First Step Almost Everyone Skips
- Symptom-to-Component Map: What Each Problem Actually Means
- Opener Problems: Limits, Logic Boards, and Blinking Codes
- Spring and Cable Problems: The Ones You Don’t Touch
- Track, Roller, and Hardware Problems
- Safety Sensors and Reversal Problems
- When the Fix Doesn’t Hold: Recognizing a Secondary Issue
The Component-First Diagnosis Framework
A garage door is four systems working together: the opener, the springs and cables, the track and rollers, and the safety sensors. Almost every failure originates in exactly one of them. The mistake most people make is treating the door as a single unit and assuming the worst when something goes wrong. A door that won’t open isn’t necessarily a broken spring, and a door that opens unevenly isn’t necessarily a bent track. Each symptom needs to be traced back to its source system before anyone touches a tool.
Here’s the framework we use on every call in Lawrence, and it works in any garage:
- Test the door by hand. Pull the manual release and lift. This isolates the mechanical side from the electrical side.
- Listen for the opener, not the door. If the opener motor runs but the door doesn’t move, the problem is mechanical. If the opener is silent, the problem is electrical or in the opener’s logic.
- Check the door’s balance. Lift the door halfway by hand and let go. A properly balanced door stays put. One that slams down or drifts up has a spring or tension problem.
- Inspect the track and rollers visually. Look for dents, gaps at the joints, and rollers that are worn flat or missing.
- Test the safety sensors last. Wave an object through the beam and watch for the indicator light. If it doesn’t change, the sensors are the fault.
That sequence moves from mechanical to electrical to safety, which is also the order of likelihood. In a Lawrence garage that sees hot, humid summers and cold winters, the mechanical systems take the most stress from temperature cycling, so mechanical faults come up more often than electrical ones. If you’d rather have someone walk this sequence with you in person, our garage door repair team runs this exact diagnostic before quoting anything.
The Manual Disconnect Test: The First Step Almost Everyone Skips
The manual disconnect test tells you in ten seconds whether you’re dealing with an opener problem or a door problem, and it’s the step most homeowners skip entirely. The manual release is the rope and handle hanging from the opener’s trolley. Pull it down with the door fully closed. The trolley disconnects from the door, and from that point on the door is free to move by hand. That one action splits the entire system in half.
Once the door is disconnected, do this:
- Lift the door slowly by hand to about waist height. A door in good working order moves with modest effort, maybe 10 to 15 pounds of lift. If you’re straining, the springs are weak or broken.
- Let go at the halfway point. The door should stay where you left it. If it drops, the springs have lost tension. If it drifts upward, they’re over-tensioned.
- Push the door up and down along its full travel. Listen and feel for binding, scraping, or a spot where it sticks. That’s a track or roller issue.
- Reconnect the trolley. Push the door back to the closed position and pull the release rope until the trolley clicks back in.
If the door lifts easily and stays balanced by hand, but the opener won’t move it, the fault is in the opener: its limits, its force settings, or its logic board. If the door is heavy or binds by hand, the opener is fine and the fault is mechanical. That’s the split. Everything downstream in this guide depends on knowing which side of that line you’re on. In our experience, homeowners who run this test before calling us arrive at a much clearer description of the problem, which shortens the diagnosis and gets the right parts on the first visit. If you’d rather skip the test and let us handle it, garage door opener repair covers the electrical half of the system and we can tell you in minutes which side you’re on.
A safety note before you lift anything: if you see a visible gap in a torsion spring above the door, or a cable hanging loose, stop. Do not lift the door and do not run the opener. That’s a spring or cable failure, and it’s a call-a-technician situation, not a test-it-yourself situation.
Symptom-to-Component Map: What Each Problem Actually Means
Most troubleshooting goes wrong because the symptom gets treated as the diagnosis. “The door is loud” isn’t a diagnosis, it’s an observation that could point to dry rollers, a loose track bolt, or a failing bearing. Here’s how the common symptoms in Lawrence garages map to their likely source, so you can trace each one to the actual component before assuming the worst.
- Door reverses before hitting the floor: close-limit setting, or an obstruction in the sensor beam. Almost never a mechanical failure.
- Door opens a few inches then stops: travel limit set too short, or a force setting that’s tripping on a binding door.
- Grinding or scraping noise: dry or worn rollers, a bent track section, or a torsion spring that’s starting to fail.
- Loud bang from the garage: torsion spring fracture. Stop using the door.
- Door sags on one side: a stretched or broken cable on that side, or a snapped extension spring.
- Opener runs but door doesn’t move: broken spring, snapped cable, or a disconnected trolley from a pulled release rope.
- Opener clicks but doesn’t run: capacitor, logic board, or a safety sensor that’s blocking the circuit.
- Door opens unevenly (one side leads): track misalignment, a worn roller, or uneven cable tension.
- Remote works intermittently: battery, antenna, or interference from a nearby LED or Wi-Fi device.
Notice that two different symptoms (a loud bang and a door that sags) both point to the same mechanical family, while a door that reverses and a door that opens a few inches then stops both point to the opener. That’s the value of mapping symptoms to systems instead of parts. If you can place your symptom in one of the four families, you already know whether it’s a same-day fix or a scheduled repair. For Lawrence homeowners, that distinction matters because spring and cable work needs a technician on site, while many opener issues can be resolved with a phone-based walkthrough before anyone drives out.
Opener Problems: Limits, Logic Boards, and Blinking Codes
Opener problems are the most misdiagnosed category because the opener is the most visible part of the system, so it takes the blame for mechanical failures upstream. Before you assume the opener is dead, run the manual disconnect test. If the door moves freely by hand, the opener is your suspect. If it doesn’t, the opener is fine and the problem is downstream.
When the opener is the culprit, three things account for most failures:
- Travel limits: the opener doesn’t know where the floor is anymore. The door reverses early, or it crushes against the floor and reverses. The fix is a limit adjustment on the opener head.
- Force settings: the opener is set to reverse when it meets modest resistance. If the door binds slightly, the opener reads it as an obstruction. Adjusting the force setting can mask a real mechanical problem, so test the door by hand first.
- Safety sensors: the beam is misaligned or blocked, and the opener refuses to close. This is the most common “my door won’t close” cause.
Brand-specific quirks matter here. A Chamberlain blinking a given number of times and a LiftMaster blinking the same pattern don’t always mean the same thing, because the two brands use similar hardware with different firmware logic. Chamberlain and LiftMaster share a common ancestry but their diagnostic codes diverge. A Craftsman opener often signals a sensor fault with the same blink pattern that a LiftMaster uses for a limit fault. If you’re counting blinks and guessing, you’re likely to chase the wrong component. This is one reason we work on specific brands instead of every brand: we know what a Chamberlain error code means, and we know how it differs from a LiftMaster displaying the same pattern. If your opener is flashing and you want it read correctly the first time, our opener repair team handles LiftMaster, Chamberlain, Genie, and Craftsman, and we can tell you what the code means before you spend anything on parts.
Spring and Cable Problems: The Ones You Don’t Touch
Springs and cables are the one part of the garage door system we tell every Lawrence homeowner not to touch. That’s not a sales tactic, it’s a safety fact. A torsion spring above the door holds enough stored tension to cause serious injury if it releases unexpectedly, and a cable under tension can whip with similar force. Neither is a component you learn on by trying. If you suspect a spring or cable problem, the correct troubleshooting step is to identify it correctly and then stop.
Here’s how to identify the two spring types you’re likely to see:
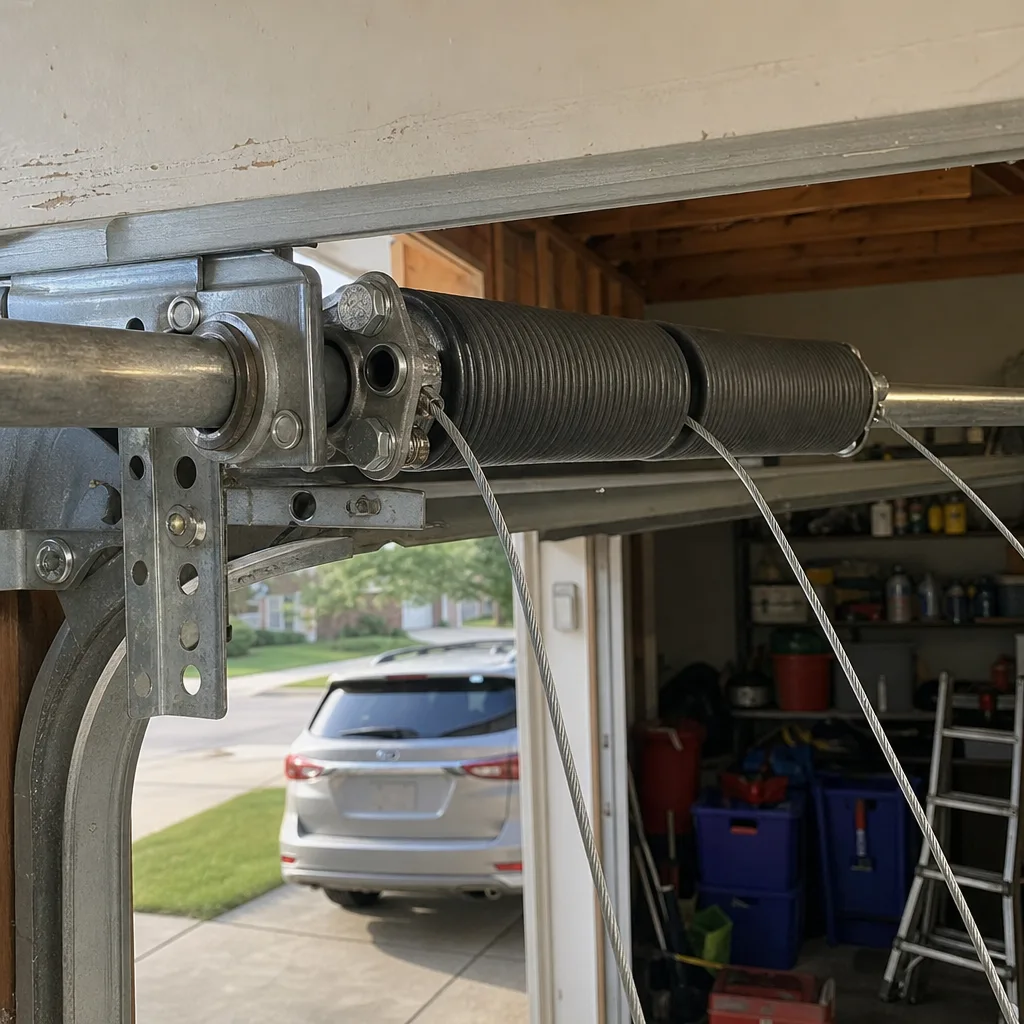
- Torsion springs: a horizontal spring (or pair of springs) mounted on a metal shaft above the door. Look for a visible gap in the coil, which indicates a fracture. Stop using the door.
- Extension springs: springs running parallel to the horizontal tracks on each side. Look for a spring that’s stretched longer than its pair, or a snapped coil. Stop using the door.
For cables, look for a cable that’s come off its drum or is hanging slack. A slack cable usually means the spring on that side has failed, which is why cable and spring failures so often travel together. If the door sags on one side or won’t lift at all by hand, you’re likely looking at a spring or cable failure regardless of what the opener is doing.
What a technician does that you shouldn’t: winds and unwinds the spring under controlled tension with the right winding bars, checks the cable drums and bearings while the springs are off, and rebalances the door so both sides carry equal load. That’s the work our garage door spring repair service exists for, and it’s the highest-skill, highest-risk repair in the trade. A spring repair done wrong doesn’t just fail again, it can fail dangerously. Our technicians have up to 10 years of experience, and this is the repair where that experience matters most. If you see a broken spring, stop running the door and call (844) 681-4256. Emergency spring service is part of what we do because a door stuck open or hanging on a broken spring is a security problem on top of a mechanical one.
Track, Roller, and Hardware Problems
Track and hardware issues produce the symptoms homeowners most often blame on the opener, because the door moves unevenly, binds, or makes noise, and the opener gets the blame. The good news is that most track and hardware problems are visible and some are safely fixable. The door tells you where to look if you know what you’re seeing.
Work through these checks with the door disconnected from the opener:
- Look at the track for dents and gaps. A vertical track with a visible gap at a joint, or a dent in the curved section, will catch a roller and cause binding. Small dents can sometimes be straightened; serious ones need a track section replaced.
- Check the rollers. Nylon rollers should be smooth and round. Steel rollers should spin freely. Flat spots, cracks, or a roller that’s worn down to the bearing mean replacement.
- Check the hinges. A hinge that’s loose at the bolt is common, especially on a door that’s seen a lot of cycles. Tighten loose hinge bolts, but if a hinge is cracked or the metal is torn, replace it.
- Inspect the panel seams. A panel that’s bent at the hinge point will never run smooth. Panel damage on a Wayne Dalton or Raynor door is often repairable without replacing the whole door, but it needs to be assessed.
- Lubricate the moving parts. A garage door needs lubrication on the rollers, hinges, and spring coils. Dry rollers are the single most common cause of a door that’s loud but not broken.
Most of these are within reach of a careful homeowner with a socket set and a can of garage door lubricant. Track straightening is the one to be careful with, because a track that comes out of alignment can drop the door. If the door binds at a specific spot and you can’t see why, a technician with a level and a straightedge can find it in minutes. Panel and hardware replacement on a Clopay or Amarr door is something we handle regularly, and matching the panel to the existing door is often more involved than it looks.
Safety Sensors and Reversal Problems
Safety sensors cause more “my door won’t close” calls than any other single component, and they’re the easiest thing on this list to check and fix. The sensors are the two small devices at the bottom of the vertical tracks, one on each side, facing each other across the opening. One sends an infrared beam, the other receives it. If the beam is broken or misaligned, the opener refuses to close the door as a safety measure.
Here’s the check:
- Look at the indicator lights. Each sensor has a small light. On most units, one light is steady (sending) and the other is steady when it’s receiving. A flashing or dark receiving light means the beam isn’t getting through.
- Look for an obstruction. A broom, a trash can, a bicycle, or a leaf pile between the sensors will trigger the reversal. Clear the path and test.
- Check alignment. The two sensors need to face each other. A bumped sensor, or one knocked by a car, sends the beam off target. Loosen the bracket, aim it, and tighten.
- Check the wiring. A sensor wire that’s been nicked or has come loose at the terminal will cause the same symptom. If the light is dark and the sensor is aligned, check the wire run.
- Check the sun. Direct low-angle sun on a receiving sensor can swamp the beam and cause intermittent reversal. This is rare in Lawrence but happens on east- or west-facing garages at specific times of year.
A door that reverses before hitting the floor, when the sensors are clean and aligned, is almost always a close-limit issue rather than a sensor failure. That’s the money distinction this whole guide is built on: the reversal is the symptom, and the component behind it is either the sensor or the limit setting, and they’re easy to tell apart once you know to look at both. If the sensors are clean, aligned, and wired, and the door still reverses, the opener’s limit is the next thing to check, and that’s a setting adjustment most homeowners can make with the opener’s manual.
When the Fix Doesn’t Hold: Recognizing a Secondary Issue
Sometimes the fix works, and then it doesn’t. The door opens smoothly for a week and starts binding again. The spring gets replaced and the door still feels heavy. The sensor gets realigned and the door reverses again a month later. That pattern, the fix that holds briefly and then fails, is almost always a sign of a secondary issue underneath the first one. The visible problem got addressed; the cause didn’t.
Here’s how to recognize the most common secondary issues:
- The door still feels heavy after a spring repair. A spring is matched to the door’s weight. If the replacement spring isn’t the right size for the door, or if only one of a matched pair was replaced, the door will still be out of balance. Springs work as a pair, and replacing one of a pair usually means the door is back on a call within months.
- The track still binds after a roller replacement. The roller wasn’t the cause; the track was out of alignment, and the new roller is now wearing against a bent track. The track needs to be straightened or replaced.
- The door reverses again after a limit adjustment. If adjusting the limit only postpones the reversal, the opener is being tripped by a mechanical bind the limit was masking. The door needs to be tested by hand again.
- A new opener still won’t close the door. The old opener wasn’t the problem; the sensors or the wiring were, and the new opener is reading the same fault. Sensors and wiring should be tested before an opener is replaced.
- A panel replacement keeps cracking at the hinge. The hinge or the track is stressing the panel. A panel that cracks repeatedly needs the hinge, roller, and track checked as a set.
The pattern to learn is this: when a repair doesn’t hold, the first repair addressed a symptom, not the source. The door is telling you which system it wants looked at. In our experience, a large share of repeat service calls come from a first fix that treated a spring like a one-for-one swap or a track like a cosmetic issue. Getting the secondary issue right the first time is the difference between a door that’s fixed and a door that’s due back in a few weeks.
Common Mistakes to Avoid
- Skipping the manual disconnect test. Without it, you’re guessing whether the problem is electrical or mechanical, and you’ll often replace the wrong part. Pull the release first. It takes ten seconds and saves a service call.
- Replacing an opener when the door is the problem. An opener that won’t lift a heavy door is doing its job. If the door is unbalanced, the new opener will fail the same way. Test the door by hand before buying an opener.
- Touching a torsion spring or cable. The stored energy in a torsion spring can cause serious injury if it releases unexpectedly. A visible gap in the spring or a slack cable means stop, not try.
- Replacing one spring of a matched pair. A pair of springs shares the load, and replacing one leaves the door out of balance. Plan for the pair when one fails.
- Over-lubricating the track. Garage door lubricant goes on the rollers, hinges, and spring coils, not on the track itself. Grease on the track collects grit and causes the door to bind and skip.
- Adjusting the force setting to fix a bind. Turning up the force makes the opener push through resistance, which is hard on the door and the opener. Fix the bind instead.
- Assuming a blinking error code means the same thing across brands. A Chamberlain and a LiftMaster flashing the same pattern can indicate different faults. Read the code against the specific brand and model before ordering parts.
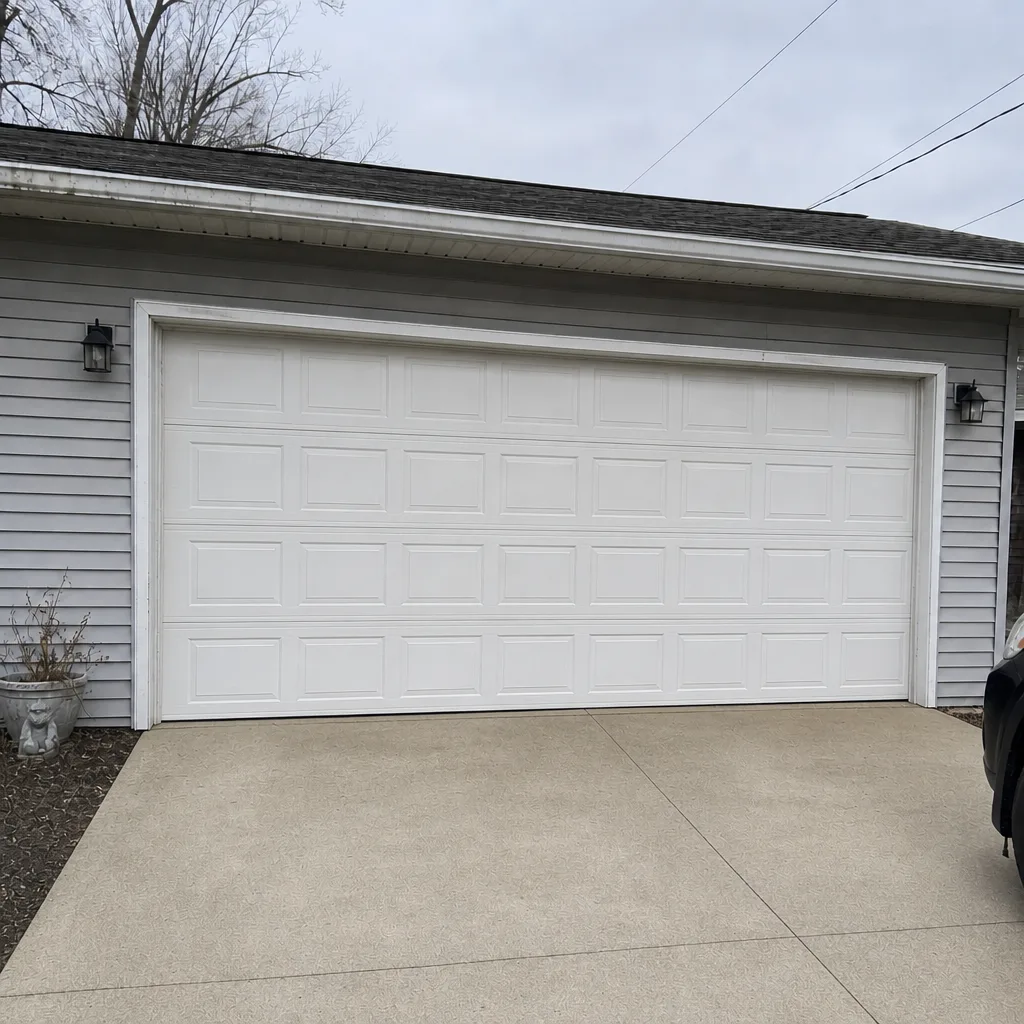
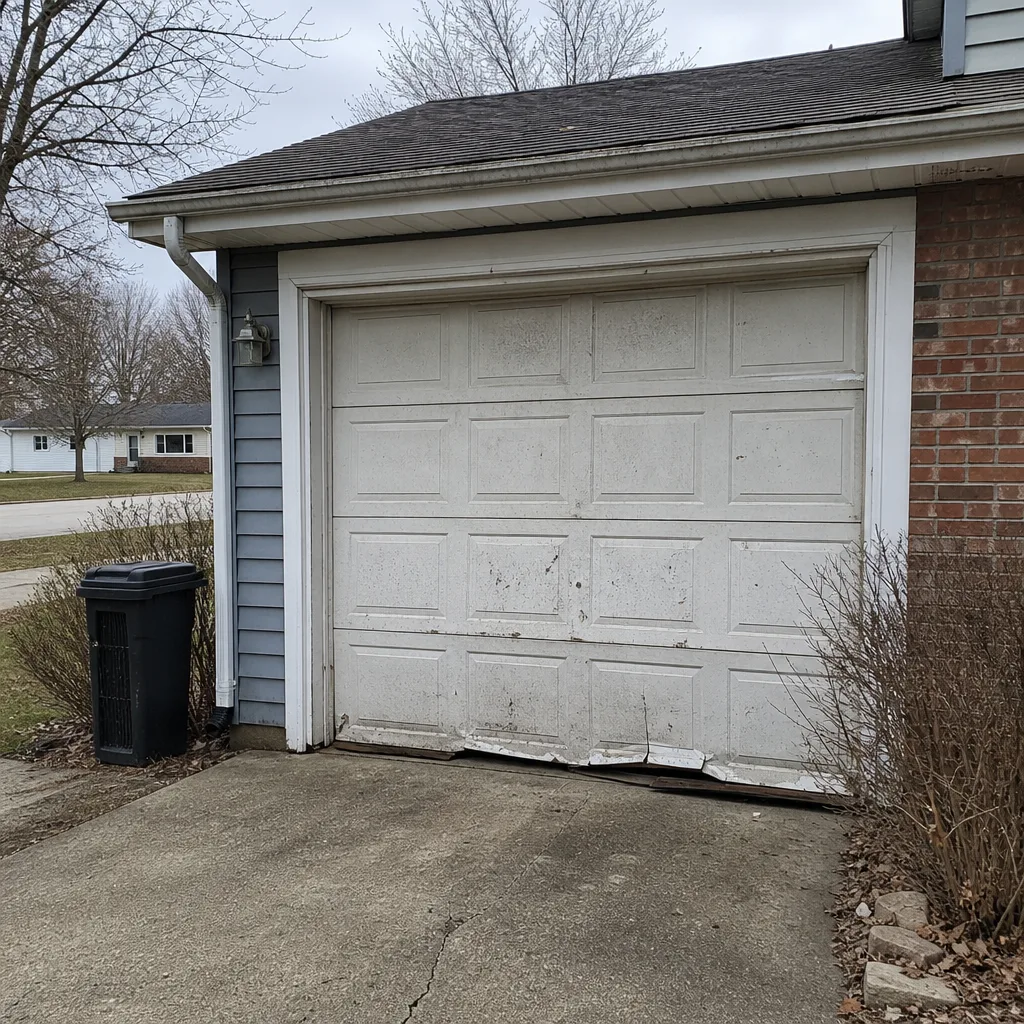
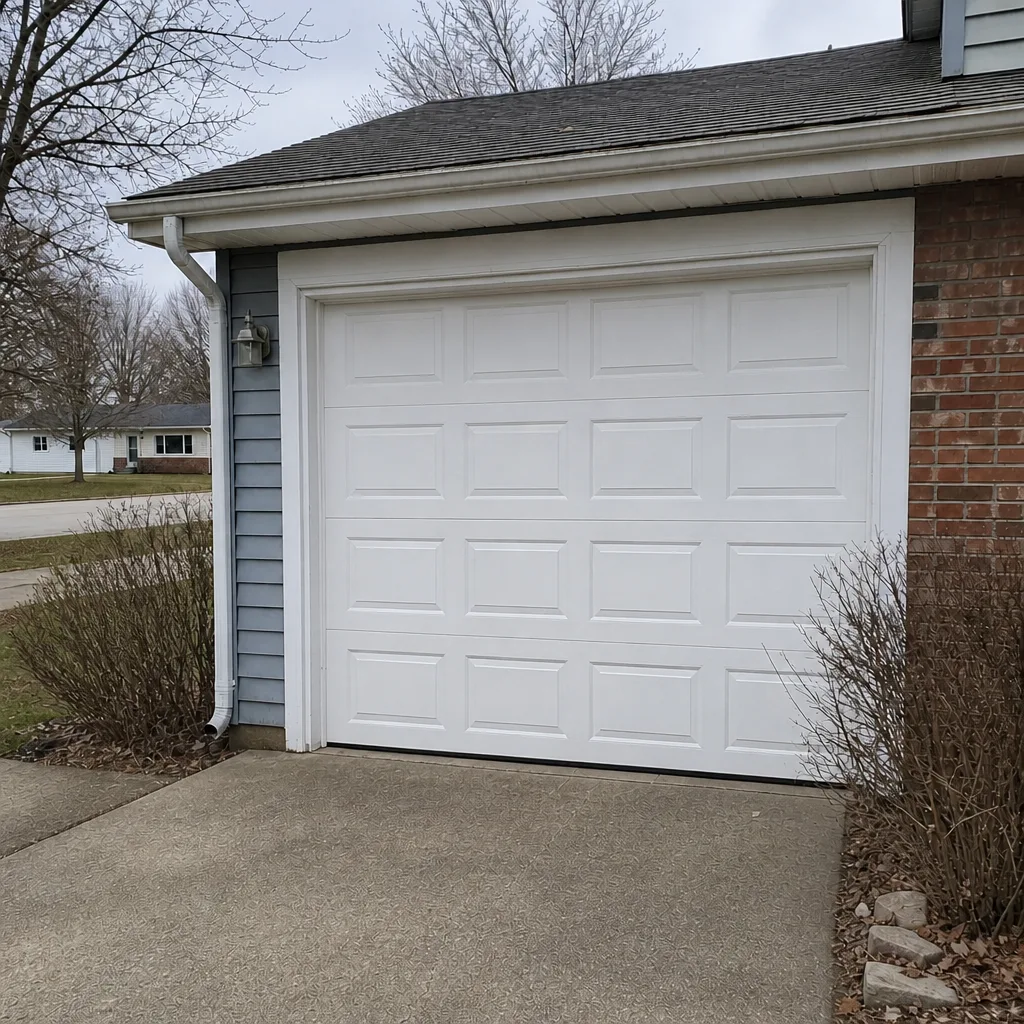
See the difference
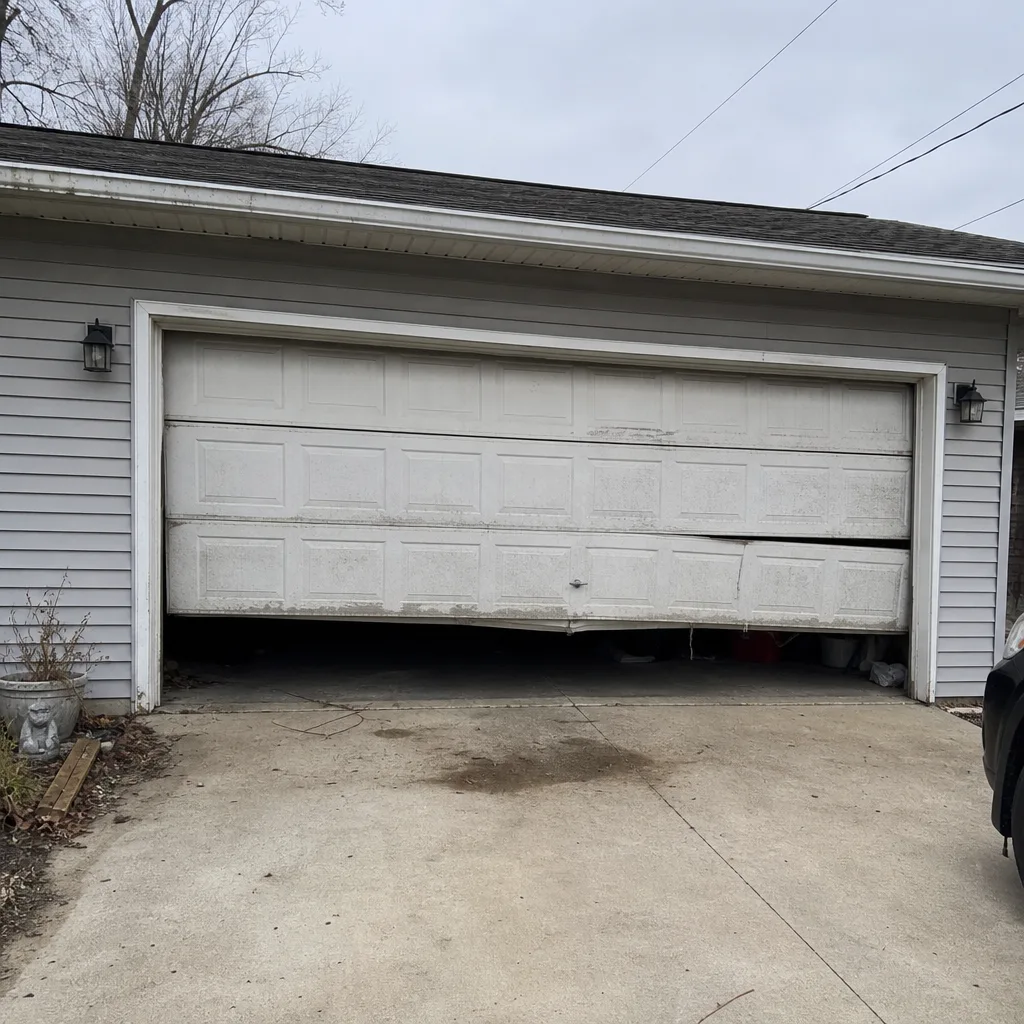 Before
 After
 Before
 After
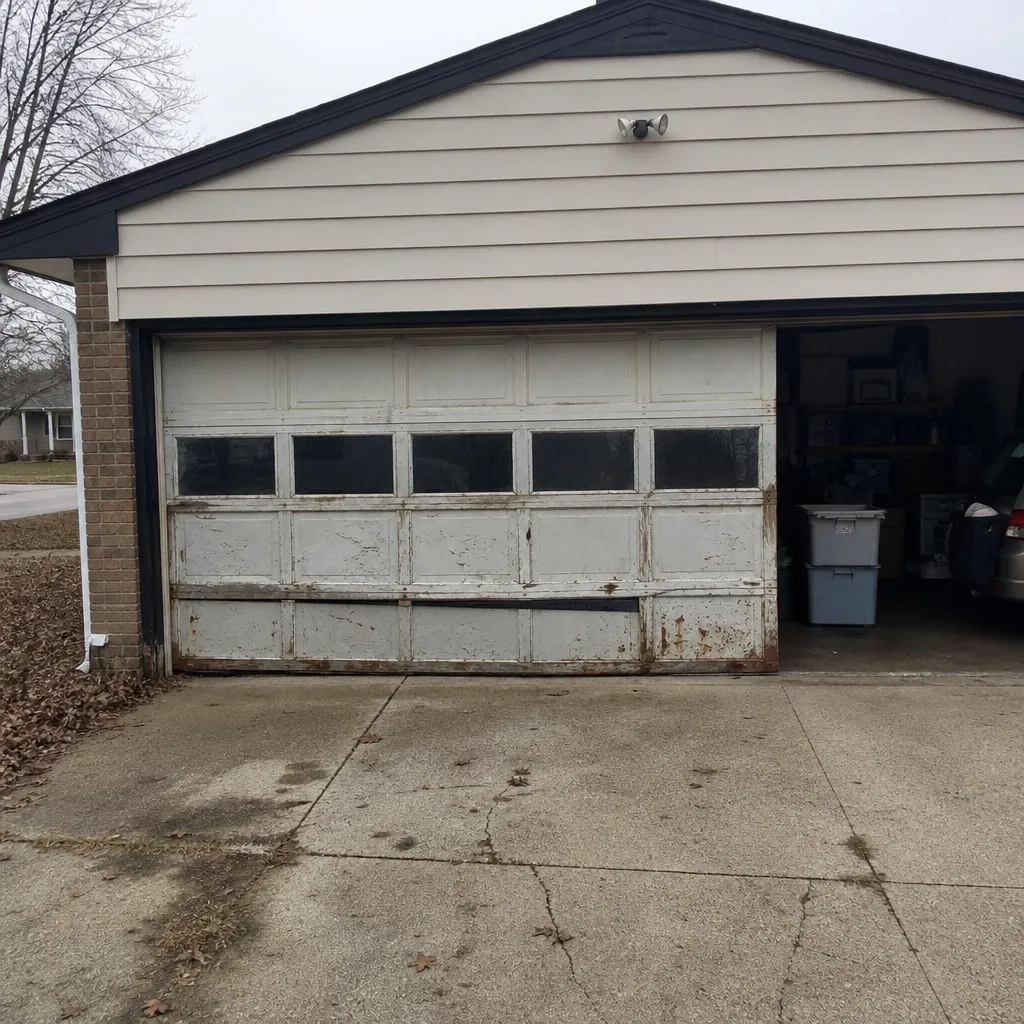 Before
 After
When to Call a Professional
Call a professional for any spring or cable problem, for a door that’s crashed or come off its track, for an opener that’s clicking or dead after the manual disconnect test, and for any repair where the fix you tried didn’t hold. Call us especially if you see a visible gap in a torsion spring, a slack cable, or a door that’s hanging on one side, because those are injury-risk situations, not diagnostic puzzles. Garage Door Repair Lawrence Pros offers free estimates in Lawrence and emergency service for doors that are stuck open, stuck closed, or unsafe. Call (844) 681-4256 and we’ll tell you what the door needs before any work starts. We work across eight major brands, including LiftMaster, Chamberlain, Genie, Clopay, Amarr, Wayne Dalton, Craftsman, and Raynor, so the technician who arrives already knows your system.
Frequently Asked Questions
A door that reverses before the floor is usually a close-limit setting that’s off, or a safety sensor that’s misaligned or dirty. Check the sensor lights first: if both are steady, the sensors are fine and the limit needs adjusting. If the limit adjustment doesn’t stop the reversal, call (844) 681-4256 for a free estimate on the diagnosis.
No. Garage door springs are under high tension and can cause serious injury if they release unexpectedly. Torsion springs especially require winding bars, controlled tension, and a solid understanding of how the system is balanced. Spring and cable work is a technician job, and our technicians have up to 10 years of experience with it.
A blinking opener is reporting a fault code, and the code means different things on different brands. A Chamberlain and a LiftMaster blinking the same number of times can point to different components. Count the blinks, note the brand and model, and have the code read against that specific opener before ordering parts. Call (844) 681-4256 and we’ll help identify what the code means.
Costs in Lawrence depend on the component: limit and sensor adjustments are usually a small service call, roller and hinge replacement is a bit more, and spring or cable repair is the highest-cost category because of the skill and safety involved. Every price we give is quoted and agreed before any work starts, so the estimate is the number. Call (844) 681-4256 for a free estimate.
Check the safety sensors first. Look for an obstruction between them, then check the indicator lights for a flashing or dark light. If the sensors are clean and aligned and the door still won’t close, the close-limit is the next thing to check, or the opener is reporting a fault. Call (844) 681-4256 if it doesn’t resolve.
A door that still feels heavy after a spring replacement usually has a spring that isn’t matched to the door’s weight, or only one of a matched pair was replaced. A balanced door should lift easily by hand and stay at halfway. If it doesn’t, the spring sizing or the balance is the secondary issue, and it needs a technician to rebalance.
The Bottom Line
The key to garage door troubleshooting in Lawrence is component-first thinking: isolate the door from the opener, trace the symptom to the system it points to, and fix the source instead of the symptom. Run the manual disconnect test before anything else. Take on the safe fixes yourself: limits, lubrication, sensors, and track. Leave springs and cables alone, because a broken spring is a stop-and-call situation, not a learning opportunity. And when a fix doesn’t hold, look for the secondary issue that the first repair masked. If you want a technician who knows your brand before they arrive, call (844) 681-4256 for a free estimate and we’ll take it from there.
Written by the team at Garage Door Repair Lawrence Pros.